Markers
Purpose
The Markers admin module is used to add, edit, or delete individual cemetery records in the markers table of the database.
Overview
The module contains multiple fields on the Basic Info and Text Info tabs for entering the desired information. See the Basic Module Structure page for detailed use of the buttons at the top, the form, and the table below the form.
Basic Info - Tab 1

Input Fields
- Official Marker Name - Enter the name of the marker as it appears on the Texas Historical Commission website. This is a required field.
- Name for Sorting - In some cases using the Official Marker Name makes it more difficult to find a specific marker in a list of marker names (e.g., The Smith House). Use this field to enter a name that would make the marker easier to find in a list of markers (e.g., Smith House). This is a required field.
- Cemetery Name - In some cases the marker will be associated with a specific cemetery. After entering two letters of the cemetery's name a dropdown menu will appear listing the cemetery names that begin with the entered letters. Continue to type the name to further filter the selection list. Select the desired cemetery name from the list. The cemetery name is used to display a link to the cemetery record in the text area below the line on the individual marker page.
- Church Name - In some cases the marker will be associated with a church. After entering two letters of the church's name a dropdown menu will appear listing the church names that begin with the entered letters. Continue to type the name to further filter the selection list. Select the desired church name from the list. The church name is used to display a link to the church record in the text area below the line on the individual marker page.
- School Name - In some cases the marker will be associated with an Historical Marker. After entering two letters of the school's name a dropdown menu will appear listing the school names that begin with the entered letters. Continue to type the name to further filter the selection list. Select the desired school name from the list. The school name is used to display a link to the school record in the text area below the line on the individual marker page.
- Town Name-In/Near - In some cases the marker will be associated with an Town. After entering two letters of the town's name a dropdown menu will appear listing the town names that begin with the entered letters. Continue to type the name to further filter the selection list. Select the desired town name from the list. The town name is used to display a link to the town record in the text area below the line on the individual church page.
- Marker Image - Enter the name of the image of the marker. All marker images must be located in the mkr_images subfolder of the images folder. As such, only the image name is required, not the full path. This is a required field.
- Latitude - If known, add the GPS latitude coordinate in this field. Note: the placeholder format for the entry. First two digits must be 33, followed by a period and six digits.
- Longitude - If known, add the GPS longitude coordinate in this field. Note: the placeholder format for the entry. First three digits must be -96, followed by a period and six digits.
If the Lat/Lon coordinates are entered the shadow box to the right of the marker image will display a small map showing the location with a link below the map to a Google map with the location.
Text Info - Tab 2
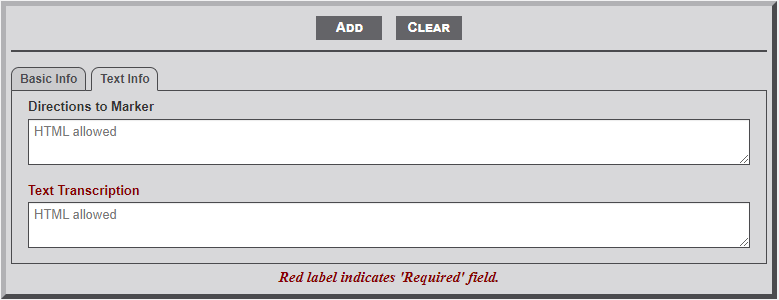
Input Fields
- Directions to Marker - Enter the directions from a specific location to the location of the marker. The specific location could be a known location (town square) or highway intersection. Be sure to indicate direction and distance from one point to the next. The text will appear in the shadow box to the right of the cemetery image on the individual marker page.
- Text Transcription - Enter the text transcription of the marker's text. This is a required field.
No Comments